If you weren’t around yesterday, I recapped my last couple weeks.
And now today… back to normal posting!
I’ve been talking about my nightstand DIY for way too long to not have shared it already. So here they are. Sadly, they don’t look at all that professional in person. The paint was much harder to work with than I expected, but overall, I love the look of them.
The Before:
Purchased from a thrift store. Not super cheap, but really good quality and nice storage. Definitely not my taste but we lived with them for two years.

So then I took them out to my deck. Painted them using Rustoleum White Protective Enamel Paint (gives a really nice lacquer). I had read all these reviews on blogs about how easy this stuff was to use. Wow. Not for me. It is so thick. Hard to paint evenly. It also drips. Oy. And silly me… it does not come off your hands. Ohhh and you have to let it dry for 24 hours in between coats. I needed 3. And to get 3 days of good weather in a row in Chicago. Needless to say. It was an adventure.
The After:
I purchased these new pulls for $4.78 a piece. Can of paint was $30. After that I thought they were done. But after a couple weeks I decided they needed something more. Then I saw these on a blog, $4.99 for 8. Done and done.
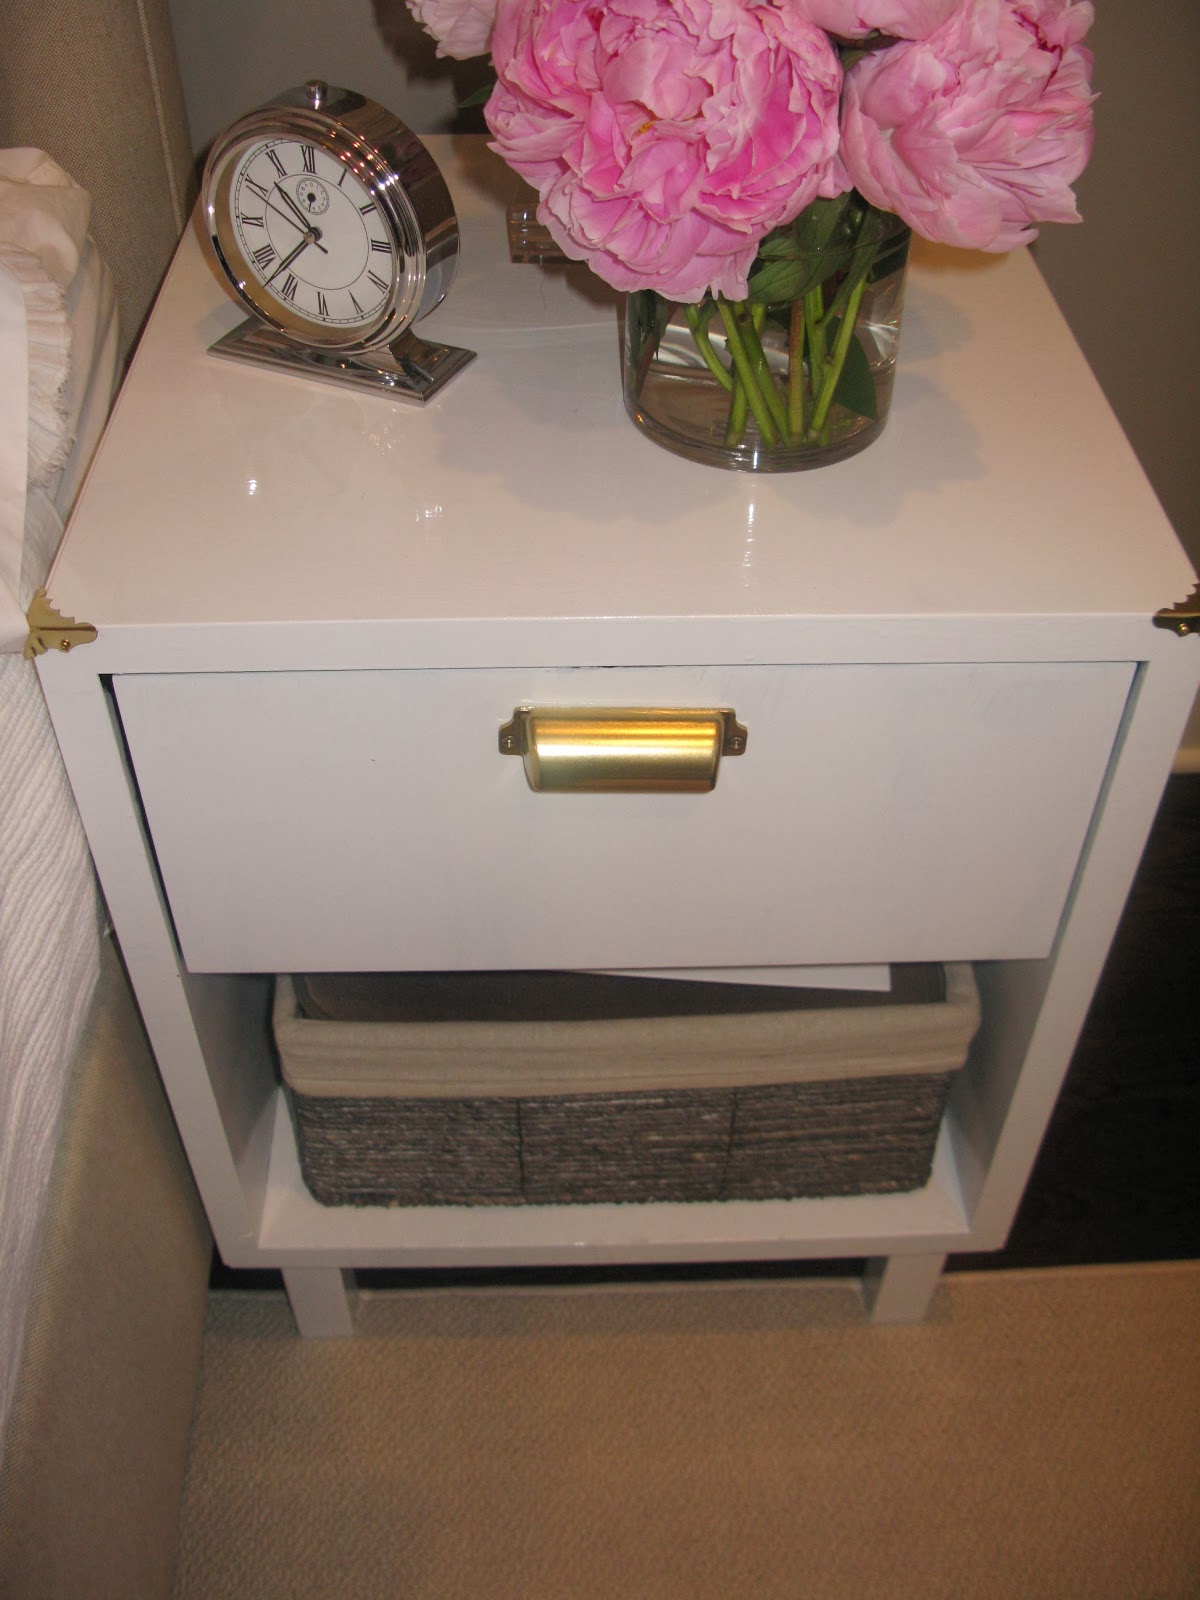
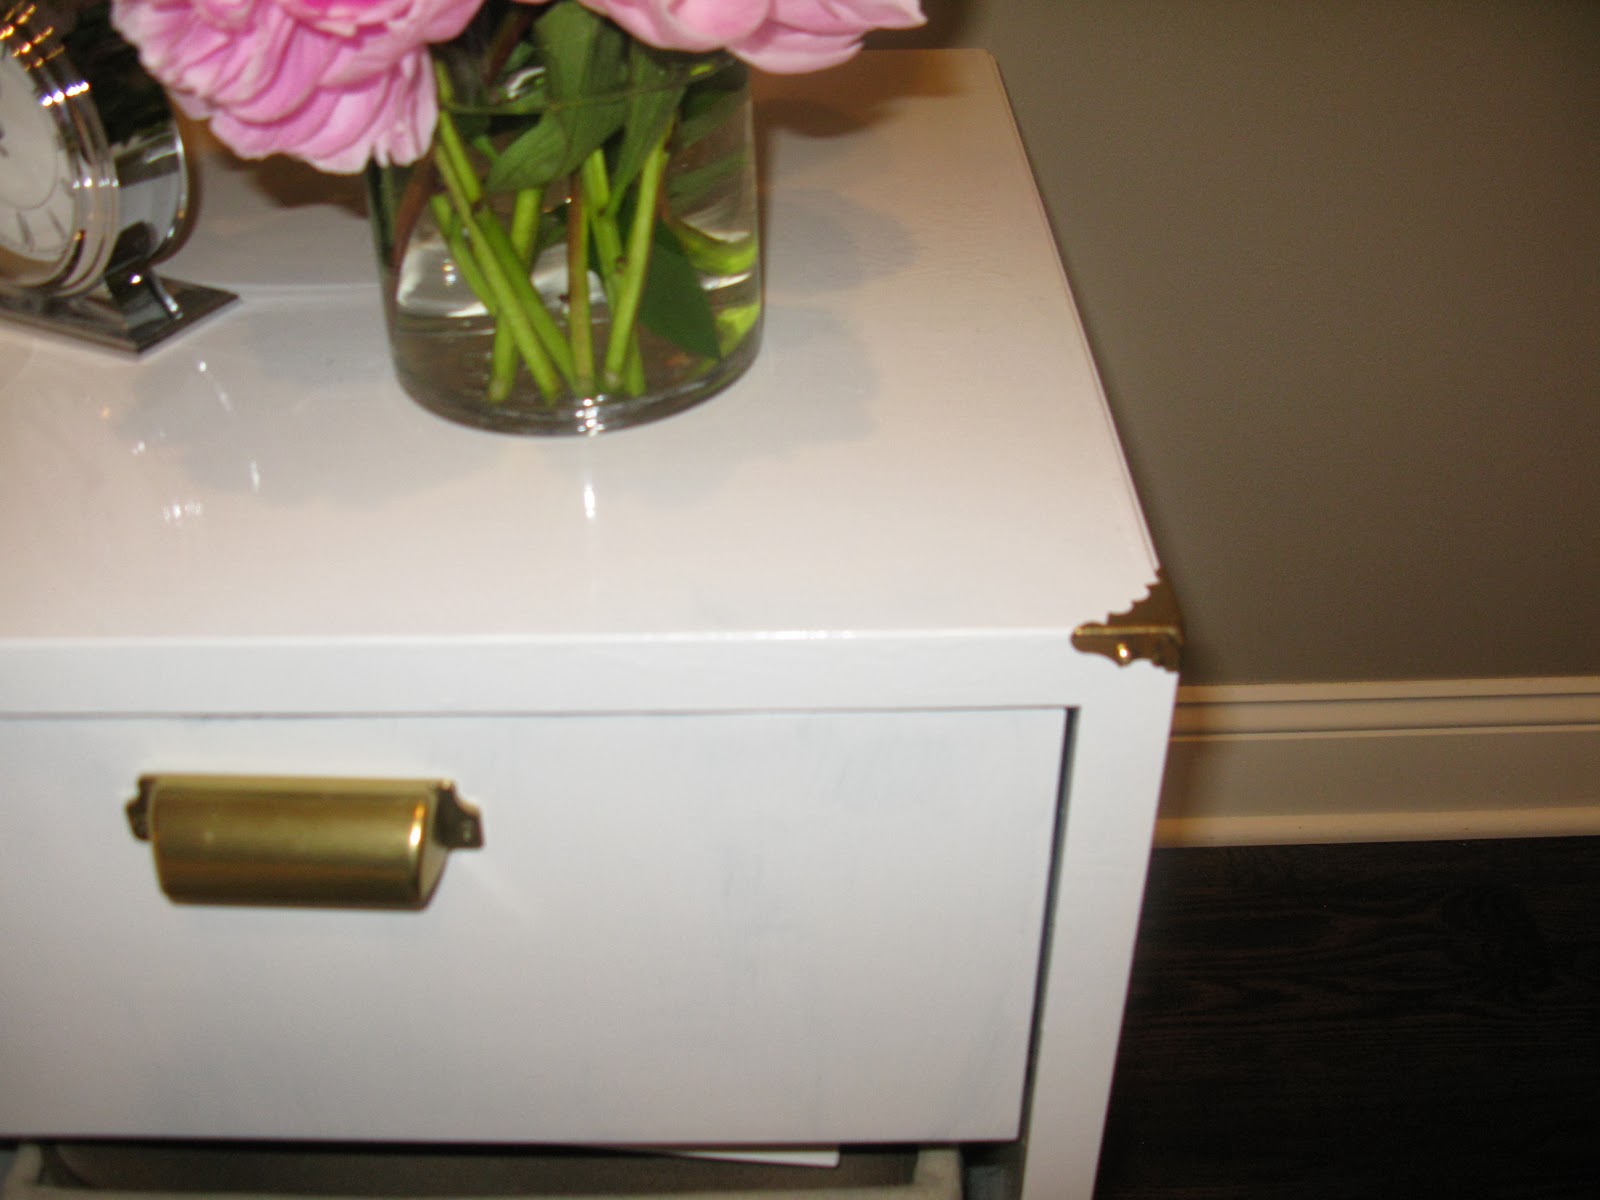
The makeover was $44.55. Well worth it.
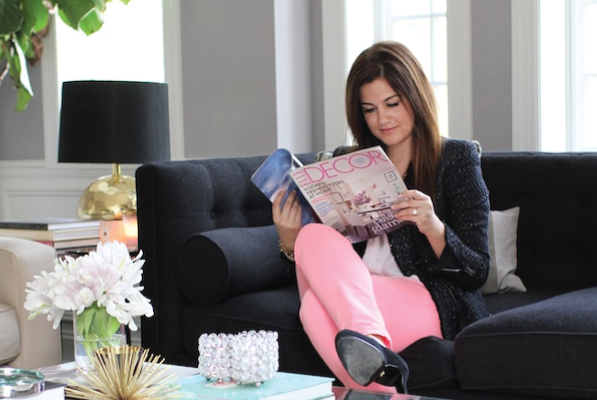
I know my pictures aren’t the best. But I have to keep the rest of the room under wraps  Hope you understand!
I think the makeover looks great. Cant wait to see the rest of the room!
I have been looking for a good lacquer forever! Nothing is shiny enough for me. Sad to hear it was not easy to use…it was totally worth it. It looks amazing. P.S. I am kind of jealous of the tan you are rocking in the previous post!
Looks great! I love the hardware on the corners.
http://chicgeekery.blogspot.com/
Nicely done! Love the color and at 44.55 would say you hit the jackpot of nightstands!
Love the glossy white + gold! So pretty.
Loving the gold hardware + white. You styled the nightstand so well too!
xoxo,
Carly
Super cute! Love the corner brackets.
Yea spray-painting really isn’t that easy. I struggle with “the drips” as well.
They look absolutely gorgeous!!
I love them!!!!!!! And hope the secret means you will have a feature somewhere soon!!!
Totally worth it, they’re gorgeous!
what a difference!
You did an amazing job! What a great DIY project. Thanks for sharing.
http://www.glamorsham.blogspot.com
gorgeous!! you did a fab job! so you didn’t strip the old paint at all?? omg that would’ve saved us so much time! xo
Awesome looking! FAB DIY!
Oh they look SOOOOO good and you know I can’t WAIT to see that room of yours in all it’s glory:)
turned out amazeballs martha stewart! can’t wait to see all the improvements tonight!!
DYING – they look amazing!!!!!!!!!! Great job Alex!!!!!!
They look soo great! I cannot believe the transformation.. and those gold corners are the perfect touch!
These look amazing! What a fantastic makeover.
It looks GREAT!! Well worth all the effort! Love the gold corners!! Such a nice touch!
ughhhh LOVE!!!
great job!!! Loved the gold corners and pulls!
Absolutely fantastic!
oooh, perfection! Fabulous job. The corners are especially awesome, they make it a lot more interesting.
Happy New Year!
This came out so well! The corners really make it special.
Looks lovely and so elegant!
They look great !! I love the lacquer look !
xxLily
goldandgray.com
Really great look! I adore all the details!
They came out great! Can’t wait to see the rest of your room.
I love the makeover! I’ll be pinning this to me DIY list!
They look great, Alex! Love the brass corners. Love, love. Our bedroom is a total war zone lately and we want to refresh it. Will keep this in mind when doing so!
It looks so great! But good to know about the paint. I’ve actually been looking for a white paint to produce that exact high gloss/lacquered effect, but I had no idea it was that labor intensive. Hm.
What an amazing diy! The transformation is insane! Great hardware too! Can’t wait to see the rest of the room.
They came out GREAT! I want to do a project like this one with my nightstands. We shall see…
fashiontruffles.blogspot.com
Fabulous DIY! I will definitely be trying this. Thanks for sharing!
xx
Ashley
Looks freaking amazing! Love the gold hardware!
Absolutely LOVE the redo! I wish that paint was easier to use. It was well worth the work. Kelli
Kelli
Happy new year, Alex!!! Looked back and saw your post from yesterday. You looked gorgeous on NYE!
Also, love your nightstand makeover and I totally appreciate your honesty about the difficulties you had with that. It would be way worse if I attempted it so knowing that an expert like you had some challenges makes it easier to take
Totally worth it! The white and gold totally lightened it up and softened it! Beautiful!
I just love the transformation…adore the gold corners…the perfect finishing touch!!
I love it!!! Looks amaze!!!
alex these look fab!! worth the effort in my eyes
Fabulous, fabulous, fabulous! I mean, what else can I say about all that white glossy goodness and golden yumminess? (c:
Wow, what a great job. They look new. I will defs be getting some of that paint next time I do a DIY, it looks great.
You completely transformed those babies!
What a transformation! I love the metal accents on the corners — the perfect touch!
MORE than impressed with these efforts! You have inspired me to start looking for possible solutions for our living room — we need some sort of side table and this idea would also work!
Happy new year!
Sal x
http://danielandi.blogspot.com/
Gorgeous! I love the white and the pulls.
Happy New Year
It looks great! I wish I had the patience for DIY…I’m needing nightstands right now in a bad way and yours looks perfect : ) Good job!
Cute! I love the gold trimmings that you used.
xo Josie
http://www.winksmilestyle.com
Those look amazing! I have some similar furniture I’ve been dying to revamp, and have some questions:
- Did you prep the surface first? The process of stripping the varnish from something scares me.
- How many cans of paint did you need for 2 nightstands?
Looks amazing! I cant believe it does not look even better in person!
xoxo
Rebecca June
That is so cute! When I saw the before picture I didn’t think the table looked so bad, but after seeing the revamp, it looks amazing! You’re definitely in the right career
Wow what a difference! We have had some experience with that technique ourselves — my daughter’s nightstand took 6 coats! I think it could another too. Love your gold hardware touches!
The hard work was well worth it — these look amazing! I have all dark furniture in my master bedroom and this has me itching for some white pieces!
-Samantha
http://www.thebrunetteone.com
What a difference from before! A great job indeed, i love the hardware! Can’t wait to see more
You know how I feel about these. Gorgeous!
This is just AMAZING! Can’t say enough how much I love it!
What an amazing transformation! Well done!
What a fabulous makeover! I love the finish of the paint you have chosen, it has come up beautifully! Love the handles too! xx
this looks amazing!! What a change!!
They look amazing! Such a great transformation!
eileen
http://www.acreativedayblog.com
Obsessed. Ordering these brackets now.
I like it a lot. I need to get myself on the DIY wagon. I am so lazy most days…this is an inspiration.
alex – this looks AMAZING!! I’m so impressed – I need your help:) x
stunning!! I love the gold detailing!
Oh my gosh, that turned out completely stunning, well done!!!
You did an amazing job! What a great DIY project. Thanks for sharing.